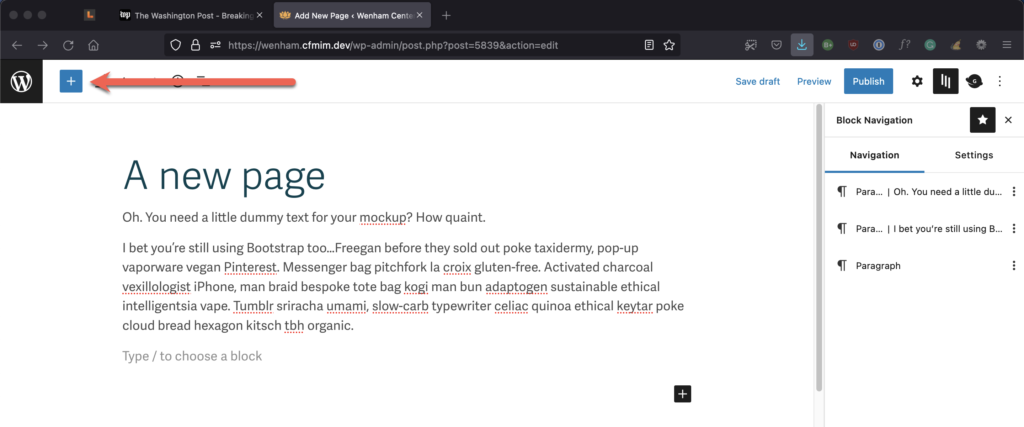
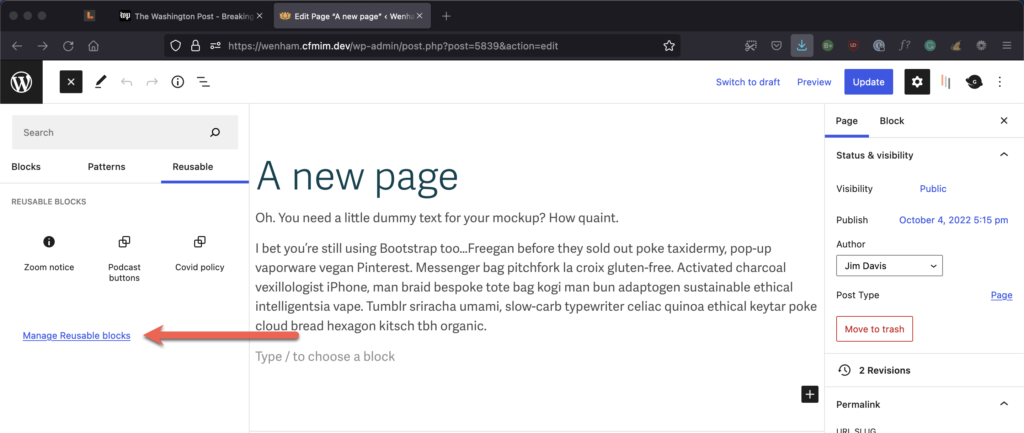
You’ll find all of your site’s blocks under the little blue plus sign in the upper left-hand corner of the page. This blue button is called the block inserter.
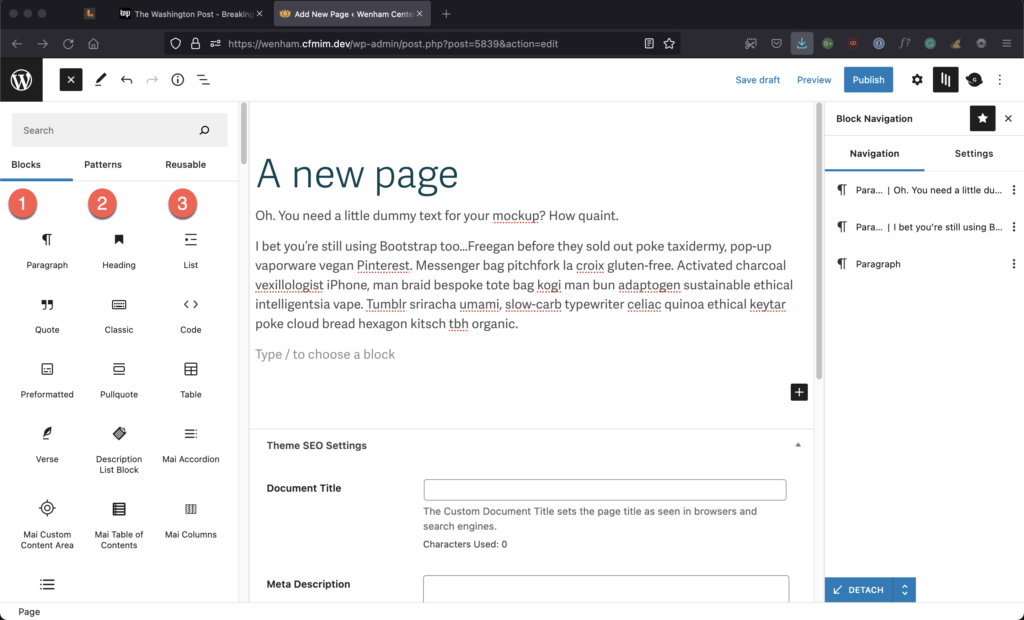
Note that there are three types of blocks under the block inserter. The first type is the basic building blocks of a page (like headings and paragraphs), while the second type is patterns. The third type is reusable blocks.
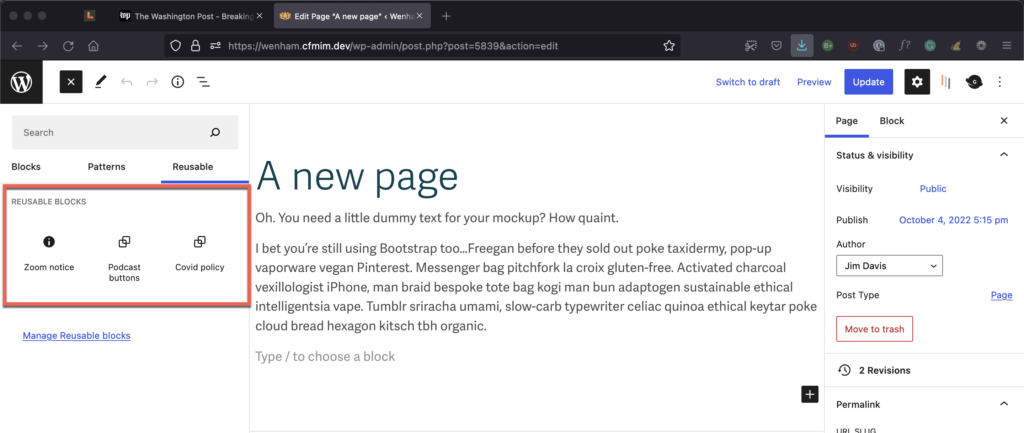
Reusable blocks are WordPress blocks that can be saved for repeated use in posts or pages.
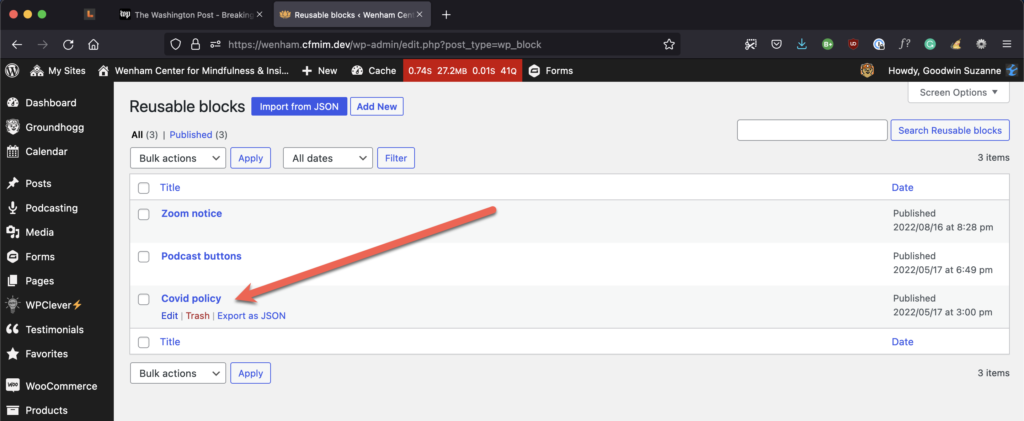
As you can see in the image to the right, we have currently saved just three reusable blocks for your websites.
Note
Two of the reusable blocks are actually being added to CFMIM programs automatically. The Zoom block is automatically inserted at the end of an online program page, while the Covid block is automatically inserted at the end of an in-person program page.
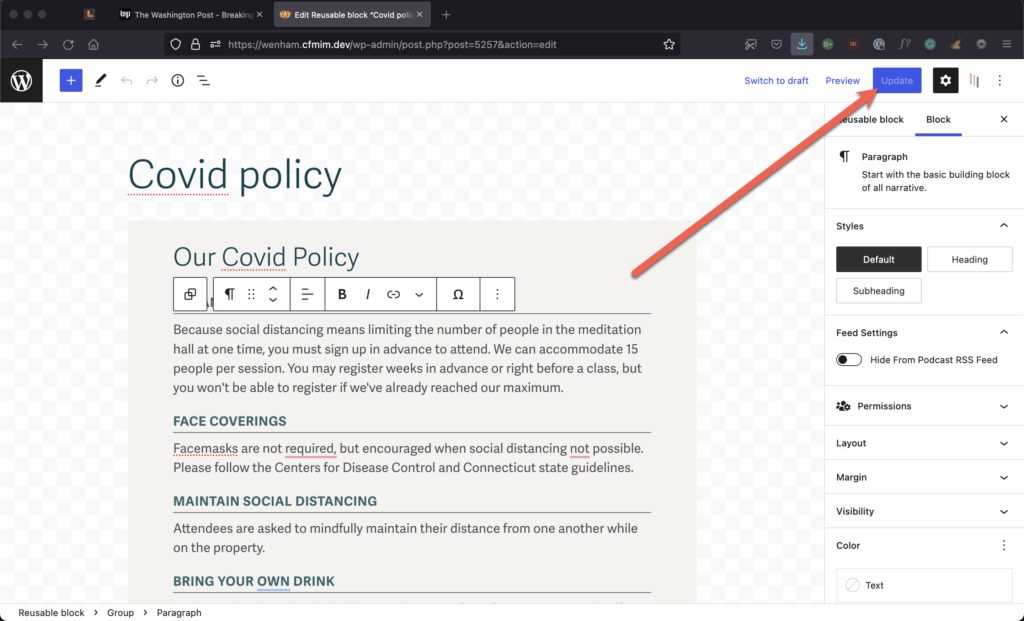
The critical concept to understand here is that when you make edits to a WordPress Reusable block, it will update the block in every location where you’ve used it.
For example, as your Covid policy evolves, you can change it in one place and have your changes reflected in every instance of that block on the site.
Select Manage Reusable blocks to get to the blocks list, where you can edit any one of them.
When you’ve finished editing, don’t forget to update the block. Now your changes are sitewide.
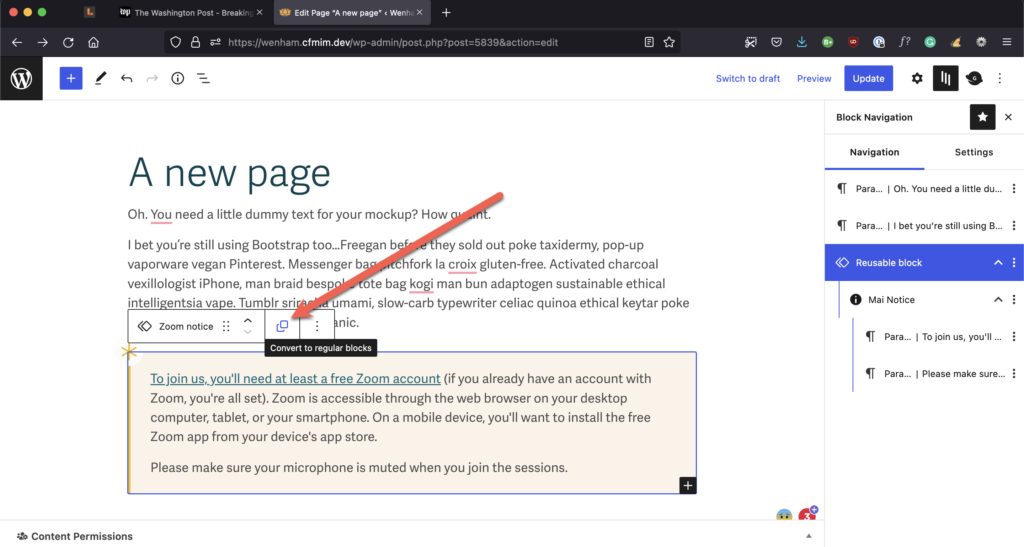
Suppose you need to edit the content in a reusable block, but you don’t want the edits to appear sitewide in all instances of the block. In that case, you can disconnect an individual reusable block from its original by selecting Convert to regular blocks.
In general, though, you’ll want to use Patterns for blocks whose content you expect to edit.